How To Set Up a Classroom Webcam
Quick link: How to set up the Google Meeting
In order to set up the new webcam for your classroom, follow these steps:
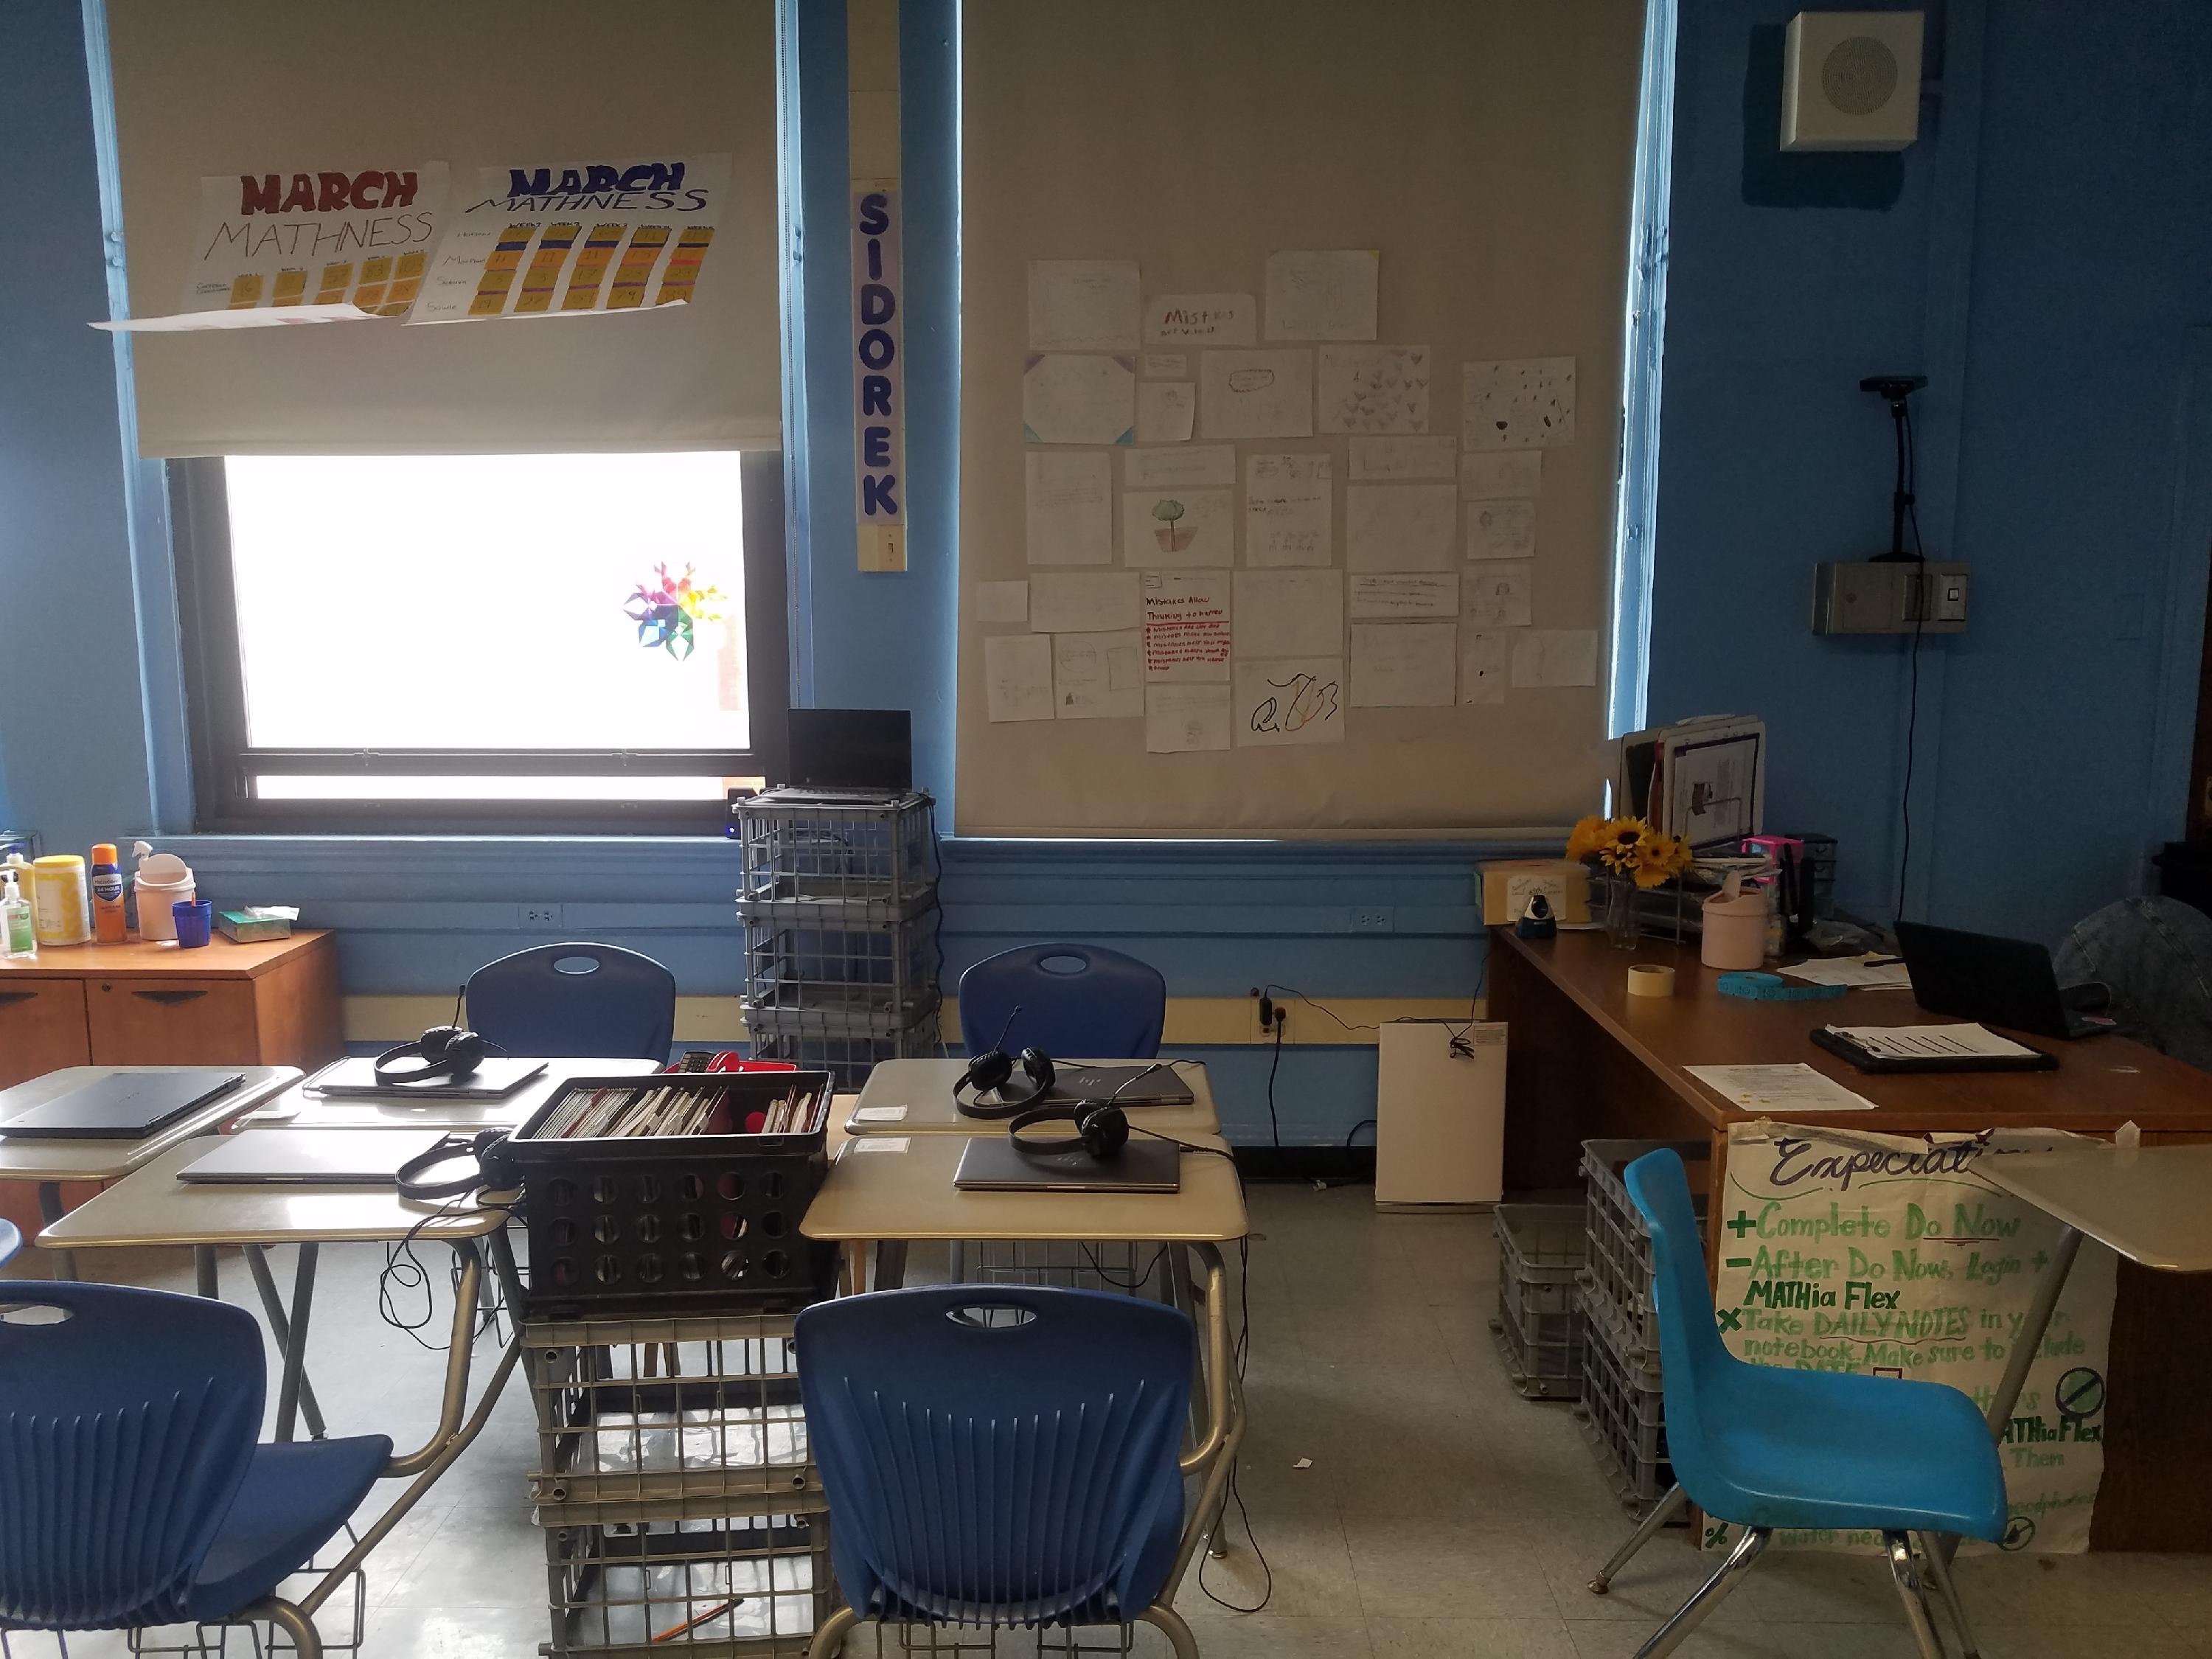
Step 1: Unbox and Place the Webcam
Need some ideas? Take a look below at some webcam setups for inspiration! Click on the image for a bigger view!


Step 2: Pick a Chromebook that will Use the Webcam
Once you have selected a Chromebook, reach out to the IT Team with the Serial Number (S/N) of that Chromebook so that it can be configured to work with the webcam
To find your Chromebook's Serial Number (S/N), you can check:
- The bottom of your Chromebook.
- The device box.
- On your Chromebook sign-in screen, press Alt + V. The Serial Number (S/N) will appear in the top-right corner.
- See this article for details: Identifying Your Device's Serial Number
Step 3: Plug the Webcam into the Chromebook.
Plug the USB cable from the webcam into the USB port on the side of the Chromebook.

Step 4: Set Up the Google Meet Meeting
-
On your own computer, go to meet.google.com and select New Meeting, then Start an instant meeting.


-
Once in the meeting, your Meeting Code is displayed in the bottom-left corner, next to the time.

-
On the Webcam Chromebook, go to meet.google.com and enter in the Meeting Code where it says Enter a code or nickname, then select Join

- Once the Webcam Chromebook is in the preview screen for the meeting, ensure the correct webcam (NexiGo for classroom camera) and microphone are selected from the drop-down menus.


- By default, the call will end after some time if you are the only one in the meeting. Make sure to change this setting by going to Settings > General and unchecking Leave empty calls
|
|
|


|
|

If you experience any issues with these steps or have any questions, please reach out to the IT Team via the following options:
- #help-technical-support channel in Slack
- helpdesk@saga.org